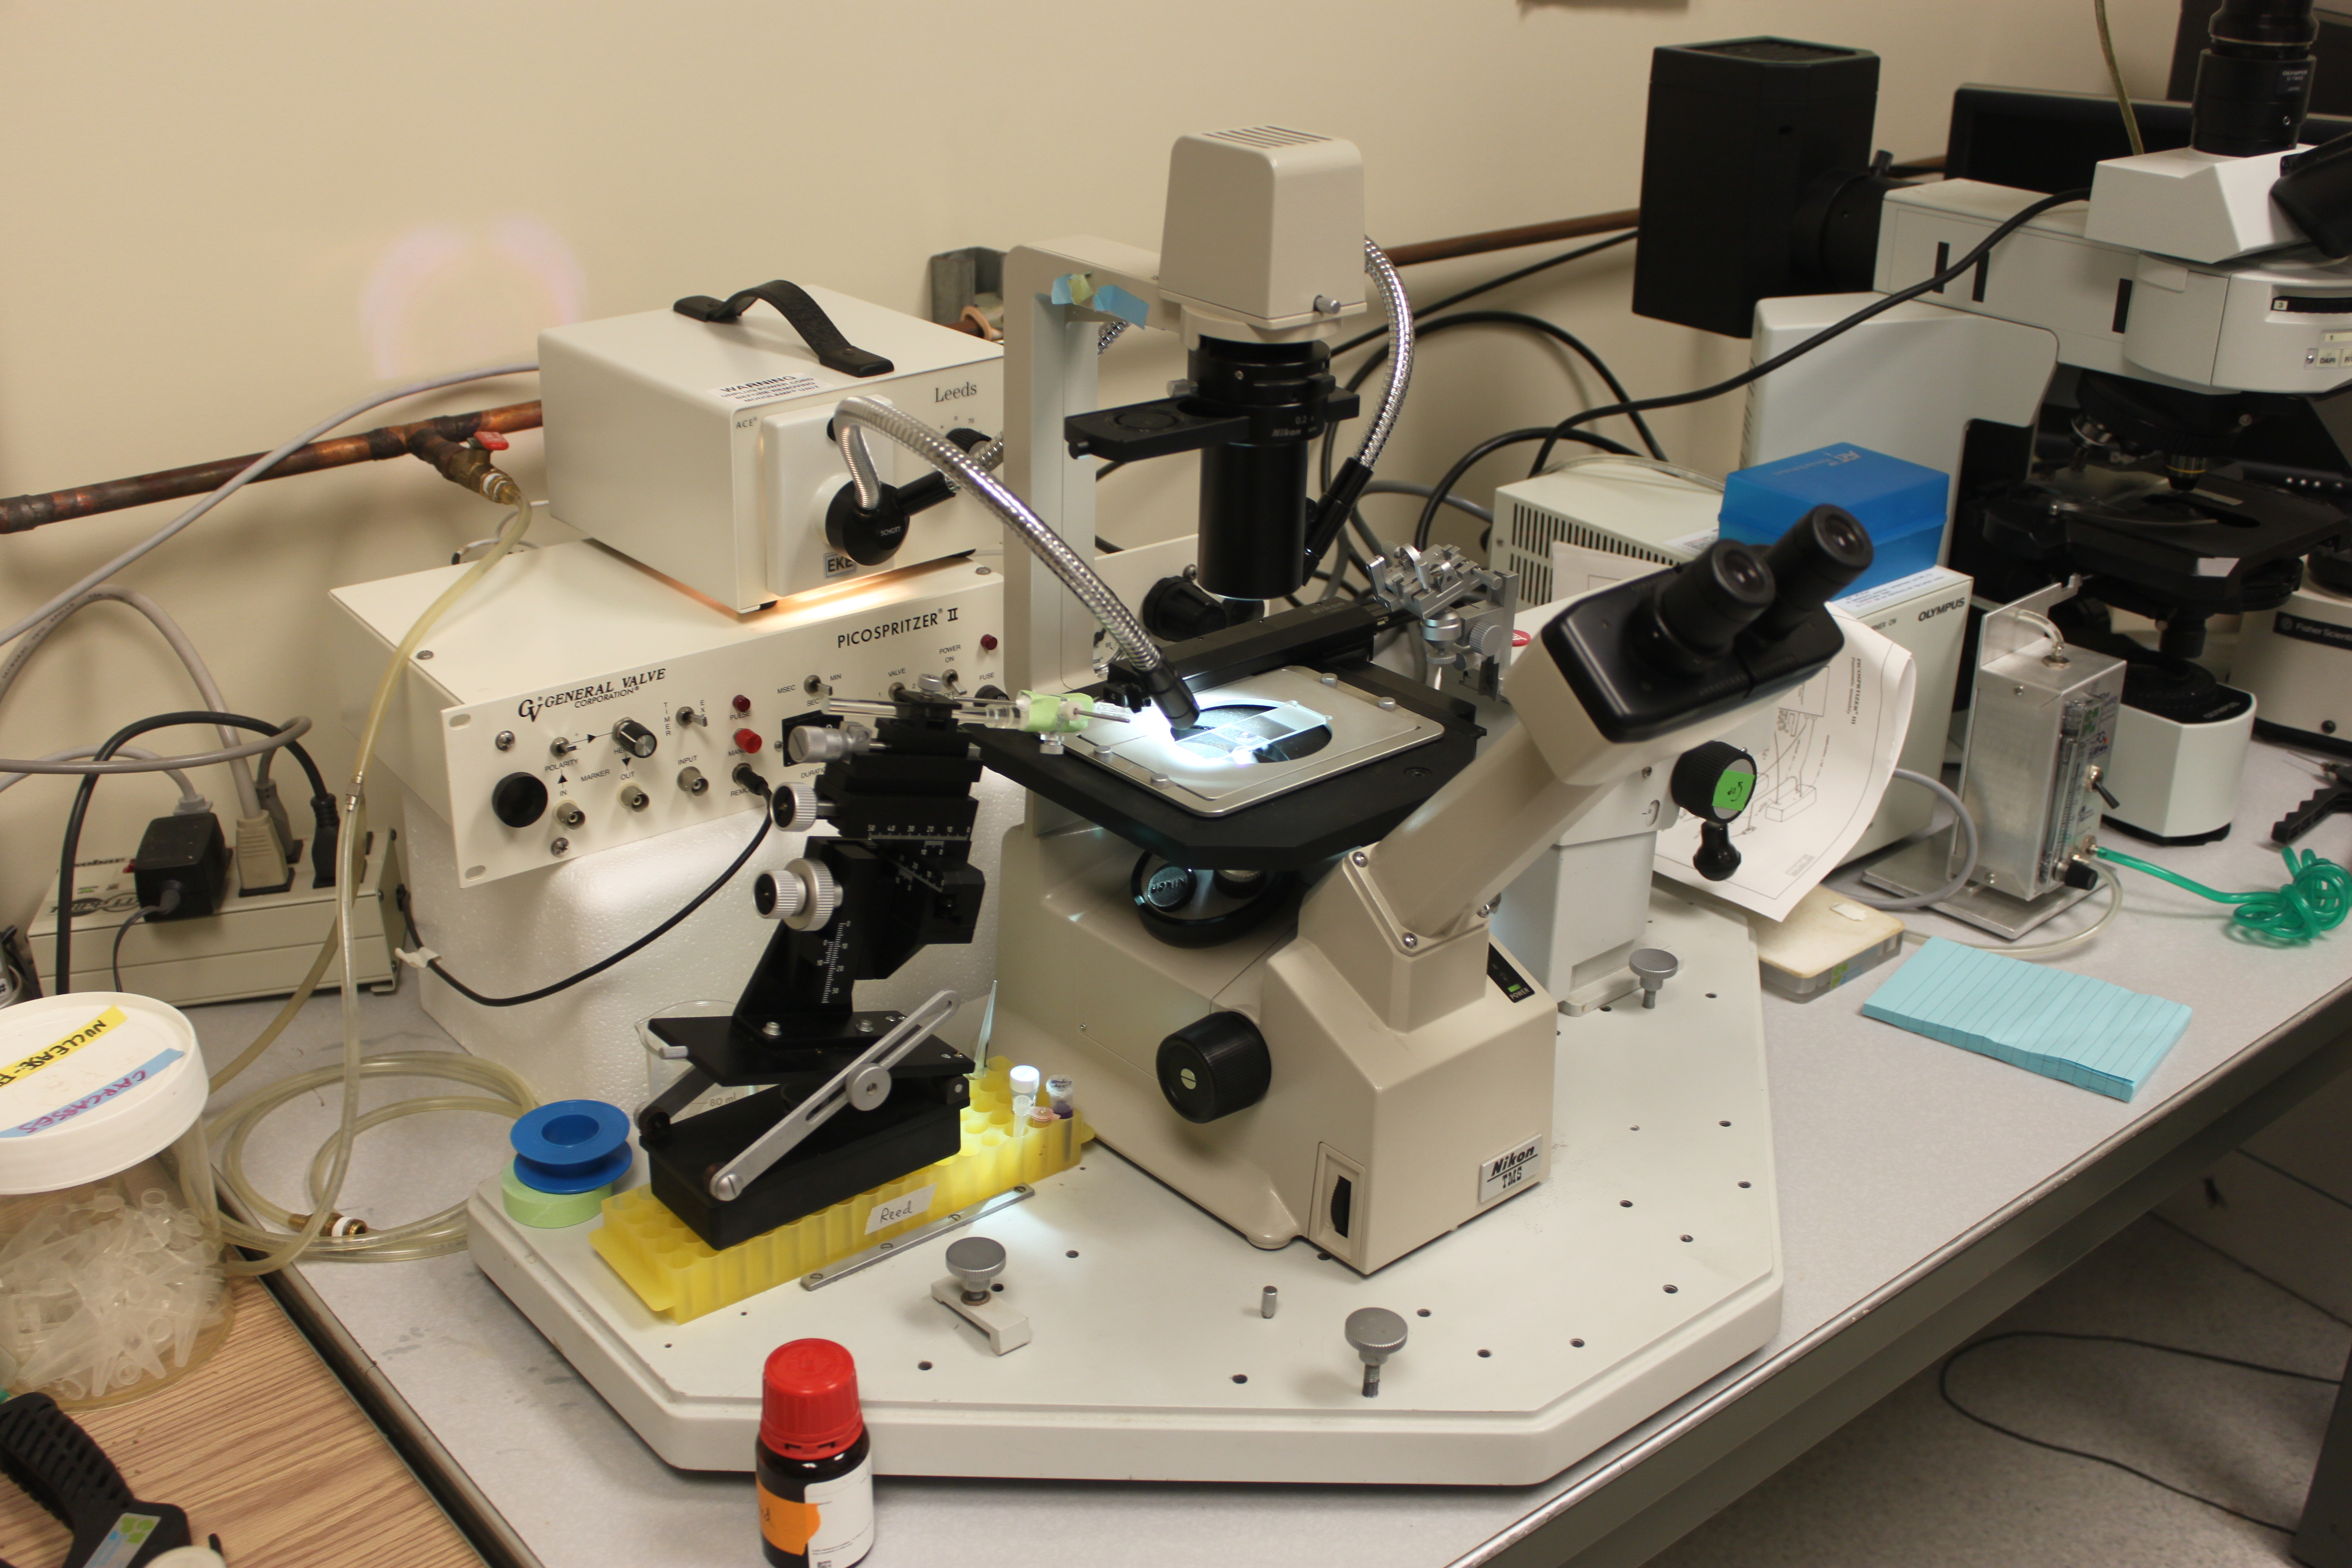
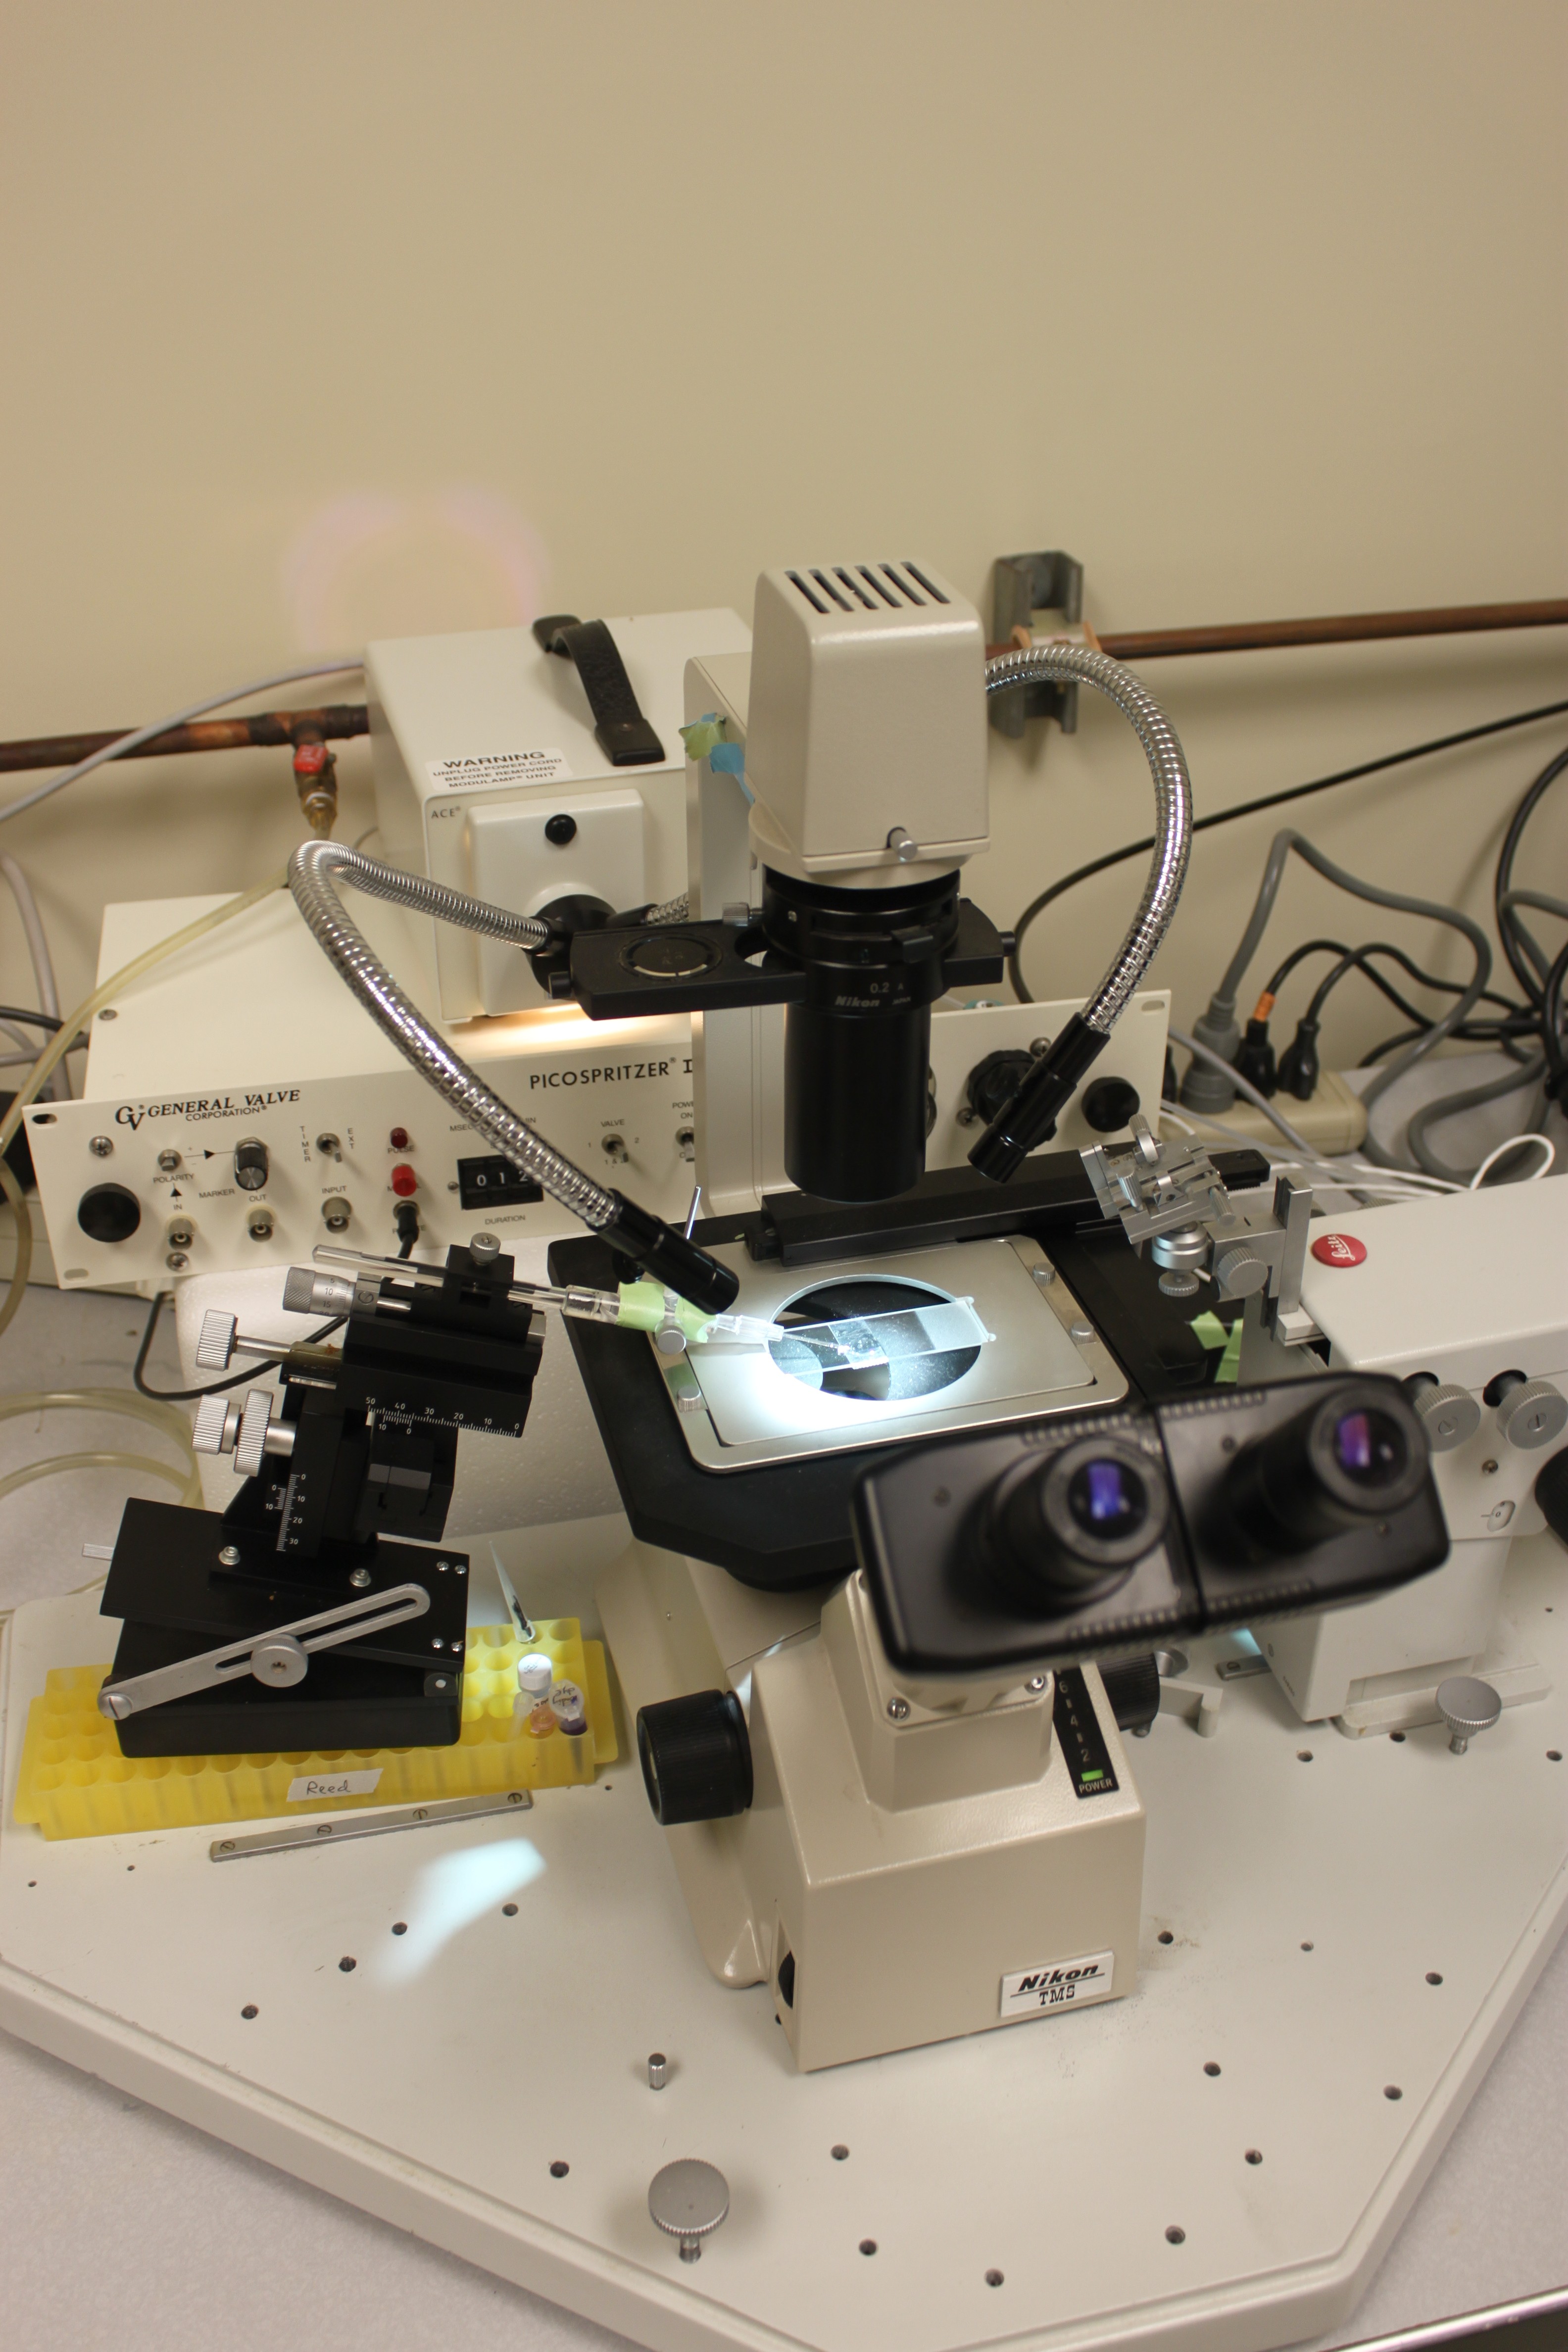
Today we did our first trial, preliminary microinjection in the lab!
This is connected to my actual research work and is not just material for the classes I am planning to teach. We are planning to genetically modify insects by injecting engineered plasmids into multinucleate embryo cells. I have never done cell microinjections before, and it has a reputation of being quite difficult, so this is one aspect I have been worried about. However, I have been talking to different people about it, collecting together materials, and we are moving closer step by step.
We now have an inverted microscope set up with a micromanipulator and a "femtotip" glass micropipette needle from eppendorf. I put some double sided tape (that I picked up at the local Safeway grocery store) on a glass slide and used a paint brush (red sable size one from amazon.com) to place a freshly laid Drosophila egg on the slide (held onto the tape). Then while looking through the microscope we lined the needle up by moving it through three dimensions by turning different dials on the micromanipulator and poked the tip into the embryo then pulled it back out. I worked with it a bit then Jolene had a shot at it.
Then I moved a light on the table and the vibrations caused the needle to smash the egg onto the slide... OK, so it may not seem like much, but I am happy. There are many more steps to go. I have two (salvaged) glass needle pullers from making our own needles out of borosilicate capillaries. However, I ordered commercially made micropipettes for now to keep things simple (but they are expensive). We also need to set up a positive pressure system to inject the plasmid mixture into the embryos. This can be done in various ways. We have an old picospritzer for the line pressure, but when I hook it up to our CO2 line it vents gas and the pressure gague doesn't budge...? There may be other alternative however if this doesn't work, for example a DIY picospritzer (link) and Dr. Gert de Couet used to use the faint pressure from turning a thumbscrew in the line to do microinjections.
There is also the preparation of the eggs. The outer layer needs to be removed (dechrionated with a 1:1 dilution of bleach, that I picked up at the hardware store); they need to be slightly dessicated to absorb the injection without exploding; and, they need to be immersed in oxygen permeable halocarbon oil (I have some halocarbon 700 oil from sigma-aldrich).
Jolene set it up again later on and I got some pictures through the scope (the scope camera doesn't fit into these eyepieces so I just lined up the camera and shot it by hand, sorry about the image quality).
In the image above you can see the glass needle poking into the side of the Drosophila egg. The needle tip is broken off too large for "real" injections (where we want the embryo to survive) and the embryo is lined up wrong, but this is just a practice run.
We added blue loading dye (used for running loading PCR products to wells in agarose electrophoresis gels) to the needle. In the image below you can see the dye injected into the center of the egg (faint blue).


